The Rule of Thirds, which applies in art as well as photography, says that we should never put the subject in the center of the photo. That’s boring. To make the image more interesting, we’re going to crop the photo to place the subject to the left or right of center.
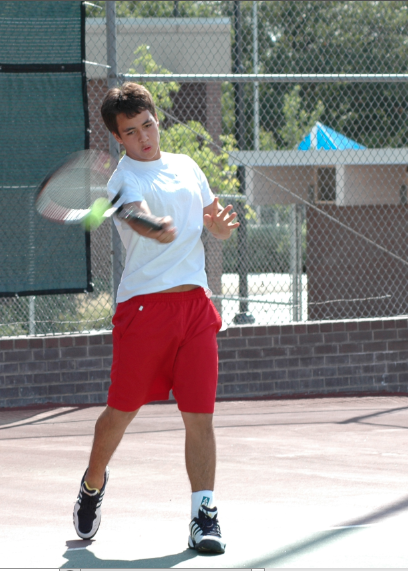
Consider this photo:

It’s a good action shot, but the subject (the tennis player) is in the center of the photo. There is a lot of extra stuff in the background that is distracting. It takes our focus off of the subject and makes our eyes wonder what we’re supposed to be looking at. Cropping this photo can help guide our eyes to what is important in the photo.
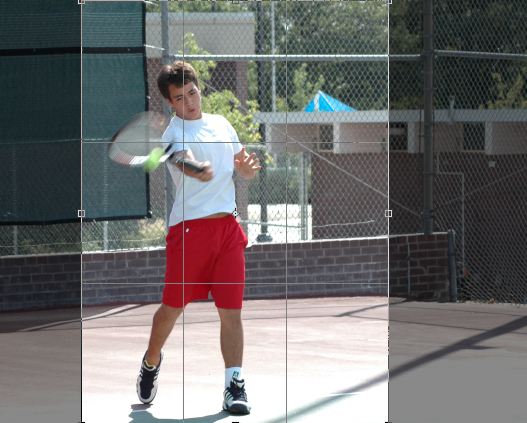
To begin, we’re going to divide our image into thirds horizontally and vertically so that we have a grid over top of it.

In Photoshop, when you use the cropping tool![]() , it will display these grid lines for you.
, it will display these grid lines for you.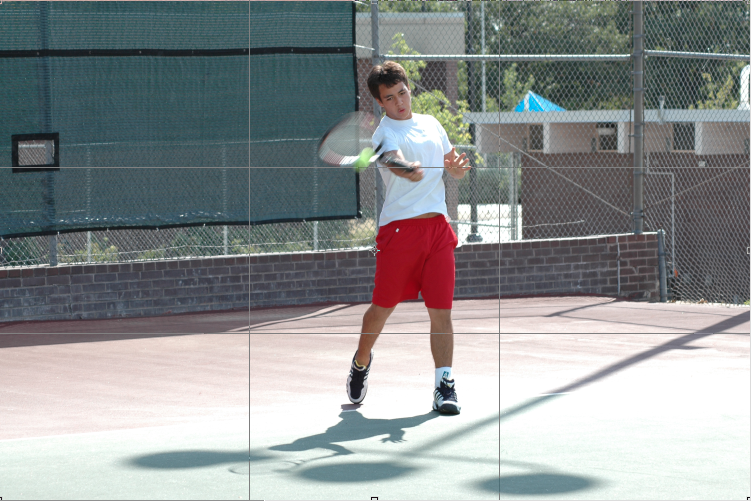
We can reshape this box now to cut out some of the unwanted elements in the background. To do this, grab the corner of the selected area, and drag it into the shape that you want. Whatever is inside the selection area is what will remain of the photo after we apply the crop. Photoshop darkens the unselected area to show you what will be cut out.

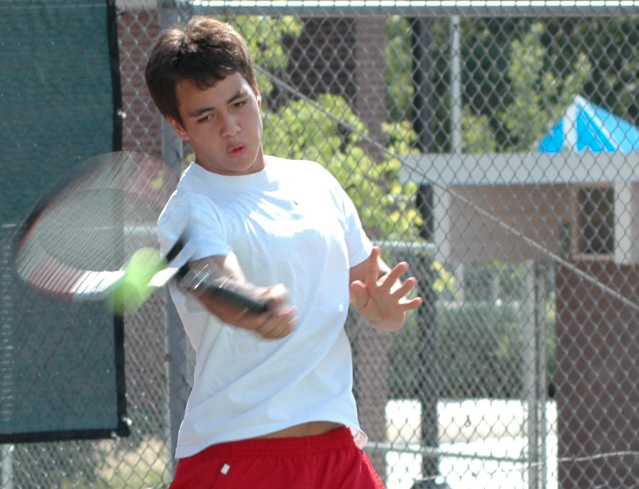
You can move the selected area around so that the subject is either to the left or to the right of the center of the photo. When we apply the crop (by double clicking inside the selected area) we’re left with this:
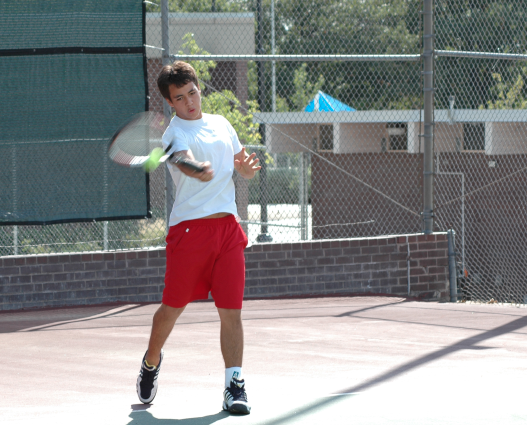
Notice that now he is to the left of center. We also always want to crop a photo so that the person if facing into the photo. Our eye tends to follow the action in the action in the photo or the gaze of the subject. If she/he is facing off the page, then our eye is drawn away from the photo rather than into it where we want it to be.
We can also crop this photo vertically. Follow the same steps above to select a new area that is vertical. We’re still going to position the subject to the left of center.
Double click inside the selection area again to apply the crop, and we’re left with this:
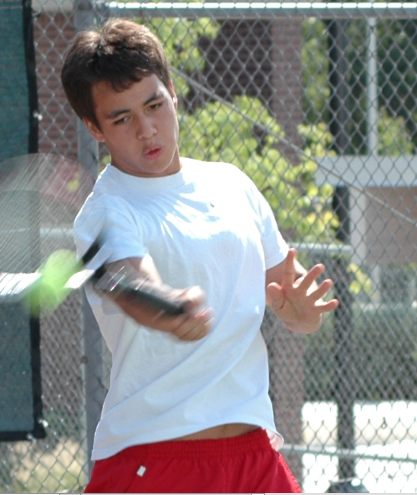
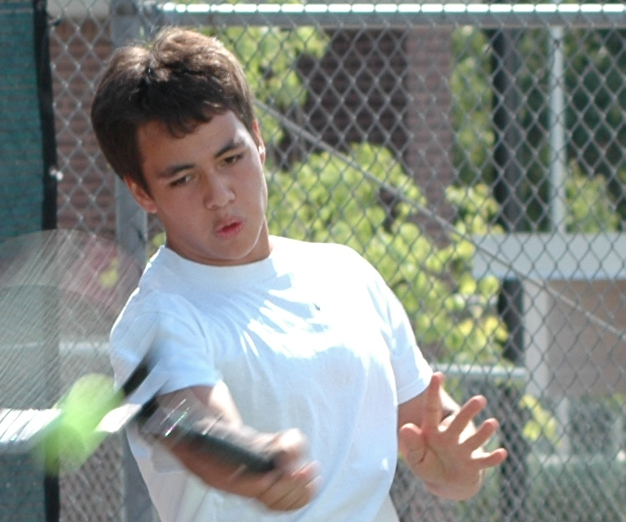
Notice that now our focus is on the tennis player and not the background elements. There is no confusion about where we should be looking. Let’s keep going and crop again to get even closer: 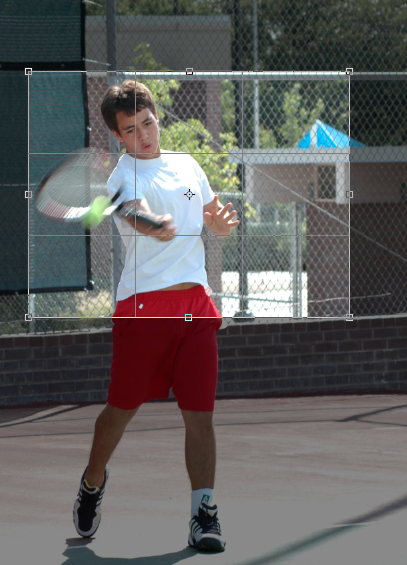
That’s a very different photo than our first image:
Now we can see the concentration on his face, the movement of the ball, and there’s not doubt about what we should be looking at. Let’s keep going again:
And again:
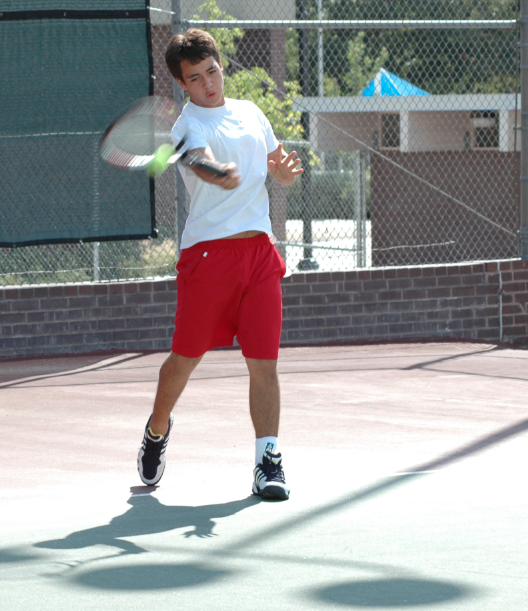
Let’s go back and make the original a vertical image from the start and include the subject head to toe:
Let’s take a look at the interesting shadow at his feet:
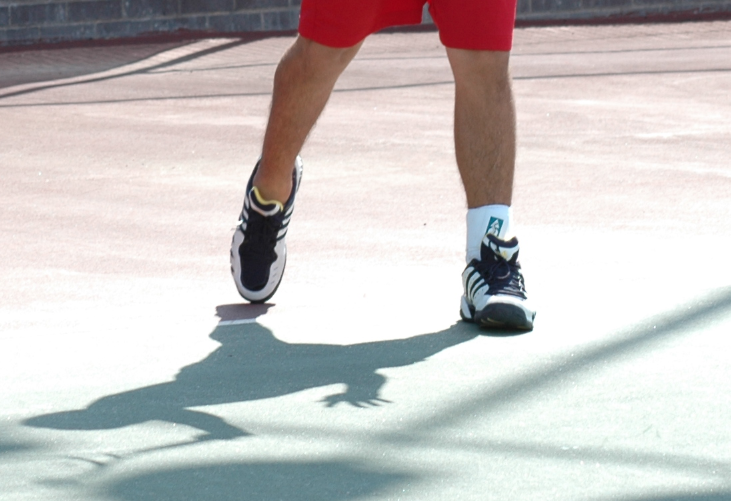
There’s almost no end.
The nice thing about our cameras is that the resolution is so high, that you can take a photo that was taken far away from the subject and still make a nice, clear, close-up shot out of it by cropping. And sometimes you can get multiple images from the same photo. Here’s an example: