
Basic LSE Pitching Mechanics
- Foot Alignment — the left side of the rubber.
- Rocker Step—pitcher steps with his glove hand leg to the side of the rubber. The pitcher should only step about 6 inches (keep chest lined up with the plate).
- Pivot step—pitcher turns his pitching foot on the rubber
- Pink Flamingo (high leg kick)—knee leg kick should be high with knee lined up with the hip
- Down & out—pitcher should drive their front leg down & out to power position
- Back leg follow thru—pitcher should drive off his back leg & follow thru. The pitcher should also finish down in a fielding position. The lower the pitcher gets the lower the ball will get.
-A pitcher should hold his hands in the glove across their chest. The hand should not break his hands until the leg goes down in the pink flamingo step.
-A pitcher should always keep his eyes on the catcher’s glove (eyes to their target)
-A pitcher should keep 80% of his weight on his back leg when in his power position
-When a pitcher drives home he should take his glove & chest to the target, while tucking the glove.
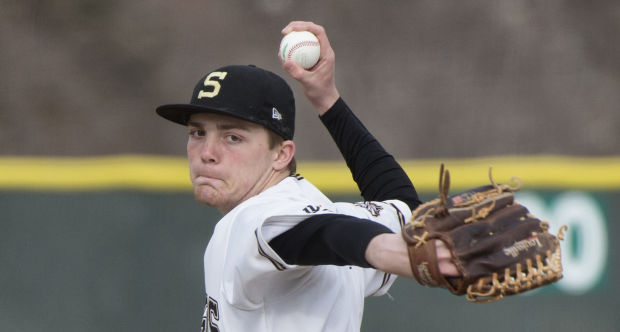
Noah Kulhanek delivers a pitch in a game in 2013
Pre-Pitch Steps:
1. Taking care of the mound
-Fixing the holes on the rubber and landing spot so the pitcher has a solid base to push off of and plant on.
2. Breathing
-Focus on the next pitch
-Clearing your mind of any distractions “clear the mechanism”
-Taking a breath to relax the body & clear his mind to focus on this pitch
-Taking a breath after getting the sign from the catcher, this refers to the process of being “all in”.
3. Eyes & Focus
-The eyes are one of the most important elements in controlling the baseball- the reason for this is the body follow the eyes.
-The eyes should never leave the glove
-The eyes create balance throughout your mechanics
-Line drill: draw a line down the middle of the rubber while pitcher is throwing bullpens to see if he is landing properly and staying “down the middle” and not veering off. The plant foot should be pointed straight down the line.
-Falling off the mound is mainly caused by the pitchers eyes; you a pitcher looks to the open side of the mound that is where he will fall off too.
–Hit the spot drill: simple drill while playing catch or throwing bullpens. Partner holds the glove (target) and the pitcher work’s on focusing on this target with his eyes and hitting the target every time. Drill is about 60 feet away.
4. Head:
-The head is the most important part of the pitchers body. When a pitcher is pitching he should take his nose and chest to the target (catchers glove).
-If a pitcher is falling off the mound, he should focus on his head where this is problem the main reason for the problem.
-The head should move very little, but should not be stiff when pitching
**For pitchers who can’t create momentum to home out of the stretch, have the pitcher put 60% of his weight on his front foot and when he lifts his front leg he creates more weight/power to his back leg, which will then create more momentum home.
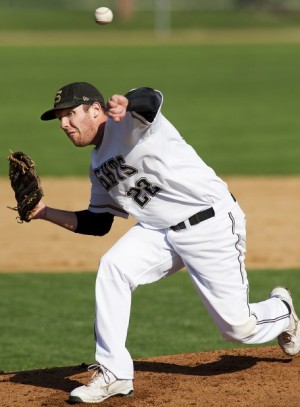
Super-state pitcher Ryan MacDonald
Upper Mechanics:
• Hands-knees exercise- pitcher simply practices from the stretch and as the hands go up when the knee goes up, and hands go down when knee goes down, and then the hands break. This helps pitchers rhythm and when pitchers get out on their front leg to fast.
• T drill- use tape or spray paint to form a T using the rubber as the top of the T. This drill is used out of the stretch to make sure the pitcher is striding straight down the line of the T when he finishes. This drill can be used without a ball first to simulate a pitch and then use it as the pitcher actually throws his bullpen.
Lower Mechanics:
• Partner push drill- one partner works from the stretch lifting his leg 3 times and working on balance as his partner stands behind him pushing on his back shoulder-back area and chest area to help pitcher keep his balance. On the 3rd leg lift the pitcher will throw and finish his motion home.
• Double lift & throw drill- pitcher works off the mound in the stretch. He lifts his leg twice checking to see if he has balance and on the 3rd leg lift he throws home.
• Front & back hook drill- hook the front leg behind your back leg knee and then hook it in front of the back knee. Throw home or to a target and don’t let the lead foot hit the ground until it has too. This helps using the pitchers back leg and loading.
• Half knee to standing throw drill- pitcher is down on one knee, as he winds back to throw and he initially throws the pitcher will push off his lead leg and stand up bringing his back leg thru like he would in a game.